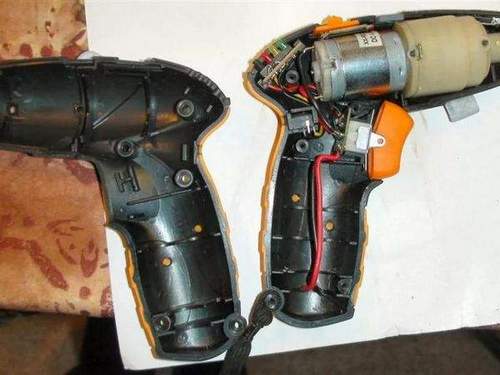
How to Disassemble a Hitachi Screwdriver Battery

To understand how to disassemble a screwdriver battery and not damage it, you should follow some simple rules. The battery is disassembled in order to replace the batteries or transfer it to another type of nutrient elements: for example, change nickel batteries to lithium ones. Disassembling actions must be neat, precise in order to avoid damage to other important elements of the screwdriver and to ensure proper operation of the tool in the future.
Preparation for work
The battery blocks in their device are almost all the same and consist of a housing, inside of which there are battery cells soldered in a certain sequence.
Tools required to disconnect the battery depending on the type of mount:
- Screwdriver Set;
- Mallet with a rubber striker;
- Thin blade knife;
- Building hair dryer (if available).
Mount Types
The battery case is attached to the device in 3 ways:
- With glue.
- Snap fastening.
- Use of screws.
Some models use several combinations of fasteners with different types of fasteners: for example, screws and glue.
Glue fixing
It is necessary to act carefully with the glue joint in order to prevent the appearance of cracks and chips on the plastic. The adhesive layer is hit with a rubber mallet for 10-15 minutes. You must act in a hurry, gently pull the halves of the body and separate them from each other. Gradually, the glue line will collapse, begin to crack and you can use a knife to open the seam.
You can separate the glued module in another way: with a thin knife blade, gently loosen the seam, and then slowly screw the screwdriver into the two parts with the flat end.
To facilitate the process and save time, it is better to use a building hair dryer. A hot spray gun warms up the adhesive layer around the perimeter. Under the influence of thermal air, the glue will become soft and further opening of the body will be easy.
Important! Thermal work must be carried out at a safe distance using gloves.
Snap fastener
Snap fastening is the easiest way to disconnect. The latch is either one or two on the sides. You need to apply a little effort, and they will open.
Using screws
To unscrew the module, a suitable screwdriver in shape and length should be selected. To disassemble the unit is very simple, for this you should unscrew the screws and disconnect the case. It is necessary to remember from which holes the screws are unscrewed, so that during assembly they are screwed into place.
Important! Each screw removed during assembly must be strictly in place to prevent electrolyte leakage.
Battery Features in Screwdrivers
Opening the case, you can see the cartridge of the elements, which provides the necessary voltage. Batteries are called “banks,” they are usually of standard size and voltage. Their difference is only in the capacity, which is indicated on the cylinder of the battery. The higher the battery power, the longer it will work.
It is better to have two batteries so that you can charge the second when working with one.
Lithium-ion batteries contain a control board, and the elements are protected by a housing or film. If lithium decomposition has occurred, then such batteries cannot be repaired.
Some nickel batteries have a thermal sensor. Nickel-cadmium batteries can be restored.
The screwdriver battery is disconnected and a malfunction is detected. An effective battery repair method is to replace faulty cells or “cans”.
The operating instructions do not recommend disassembling and changing the battery of a screwdriver. But the price of the battery is more than half the cost of the instrument. Not everyone can afford to buy a new tool, so some masters disassemble, repair, restore and change the main elements of the battery.
Useful articles, news and reviews on our Yandex Zen channel