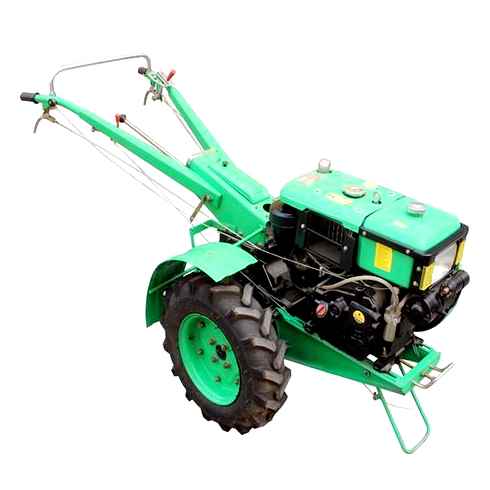
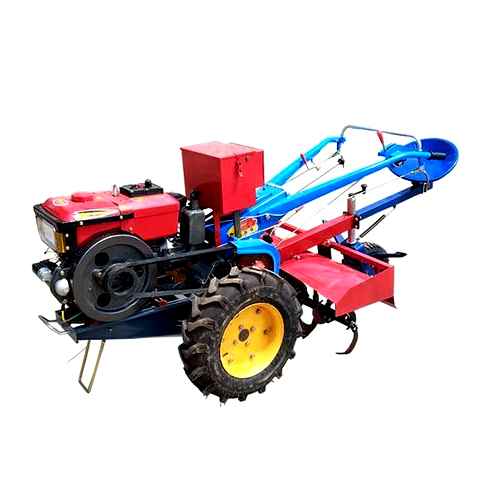
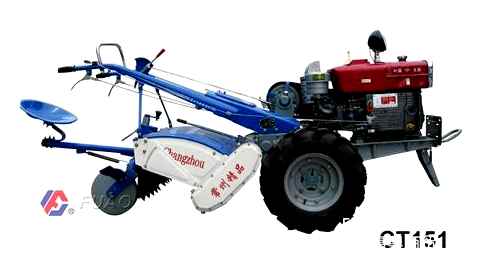
How to make a mini tractor from a power tiller. Selecting the wheels and tires
How to make a minitractor from a power tiller: step by step instructions
For owners of land plots, undoubtedly, a minitractor is a more desirable purchase than a single-axle tractor, because it is much more powerful and comfortable. But, unfortunately, not everyone and not always can get just this machine, citing its cost, size, and a number of possible reasons.
But if you already have at your disposal such equipment as a single axle tractor, you can easily remake it in a mini tractor with their own hands. For this you will need some tools, materials and desire.
Installing the running gear
When the installation is complete, the hitch is mounted on the front and rear axles, and the wheels are mounted on them. In general, the rear axle is equipped with bolsters that came with the power tiller, and the front one is designed for cars. The tread pattern should be deep. This is an important aspect, as the equipment will get a high cross-country ability, and the traction of the wheels with the ground will be improved.
To equip a homemade tractor with a full-fledged running gear, you need to buy hubs with brakes. It is desirable that the set also included steering rods, wheels, gearbox and column. But they can be reconstructed, too. removed from a passenger car.
Some farmers supplement the front suspension with shock absorbers for comfortable operation.
The step by step process of modernizing a power tiller into a mini-tractor
- Developing a kinematic diagram design. The main thing in this scheme is the equilibrium of the structure, so that additional loads will not destroy the future equipment. This scheme is self-developed or you can use a ready-made diagram with a kinematic image of the mini-tractor.
- make a frame from angles and pipes. When making the frame, it is important to think about the location of the fork with a bushing, which provide rotation of the trailer.
- We make the body. Sheet steel is an excellent material for the body. The height of the sides of the body must not exceed 30 cm.
- Mounting the seat for the driver.
- Mounting the attached equipment.
- Checking the efficiency of the manufactured mini-tractor.
- Painting.
One of such options, to create a mini-tractor, we will consider the example of the motor-block “Neva MB-2s 7,0 PRO”. The engine Subaru EX 21D is installed on this walking tractor. If you make a plowing of the homestead plot with such a motorblock, then within a week it will be difficult to unbend. To avoid such consequences, we convert the single-axle tractor to a mini-tractor.
Since the SUBARU engine has no 12v output, the headlights are installed for decoration purposes. To use them, it is necessary to install a battery pack or an accumulator. The imperfection and inconvenience of this equipment is not noticed when plowing the land. This mini-tractor was tested on the heavy soil for plowing. Although the tractor’s traction characteristics were questioned when it was built, the tests were very successful.

Also a big plus of this machine is that the driver and the front of the minitractor is an extra load, which helps the drive wheels grip the ground better. Levers installed: throttle lever on the right, half axle release lever on the left. A sprocket, 150 mm in diameter, is used to lift the hitch. It is led by a bicycle chain on a lever or a manual jack.
Installed wheels from the “Volga”, were found at a junkyard, pre-cleaned from rust and painted. Pedal layout is similar to a car pedal: right pedal is brake, left pedal is clutch. Speeds are selected with the lever. Brakes, taken from “Riga-7” moped.
The clutch pedal works the same way as on a power tiller: when depressed, the tractor drives, if released. it stops. Left armrest lever has a cable to release axle. It is used when it is necessary to turn. There are no special details for turning to the right or left. The throttle lever is located on the right armrest. The linkage lift lever is under the seat.

The drive belt on the gearbox is the same wear as the one on the tiller. The sum of weights of driver and front part of tractor is 100-110 kg, that keeps the front of tractor from lifting when ploughing. The track dimensions are the same as with the power tiller. 630 mm. Problems with stability arise if the plowing goes deeper than 20 cm.
Mini-tractor with their own hands: how to make, the best options self-made
The use of mini-tractors in agriculture is becoming more justified in recent years. Relatively small dimensions, coupled with good performance and maneuverability, allow you to cultivate land holdings for future use. However, not everyone is able to buy a ready-made unit, sold in a specialized store, because it is then that many have a question. how to assemble a minitractor at home with their own hands?
The solution is not as simple as it may seem at first glance, because for the implementation of the assembly may require a lot of related material, as well as the necessary technical knowledge and skill to work with tools.
The mini-tractor from a power tiller Agro
Before you start remodeling this brand of power tillers, you should stock up on the material and necessary tools. To work you will need:

- stainless steel sheets and profiles;
- seat and steering wheel. can be removed from an old car;
- a pair of wheels. their diameter should not exceed 15”;
- a set of fasteners;
- Angle grinder and electric drill;
- hammer and welder.
After preparing everything you need, we advise you to study the schemes, which will prompt you the correct order of action when installing the elements of the tractor. We also advise to look at the photos, which will certainly help you in the manufacture of an agricultural unit. Unlike power tillers of the manufacturers listed above, the equipment of Agro brand has one major disadvantage, which must be taken into account when converting a power tiller into a mini-tractor. It lies in the fact that the axle of the power tiller has a very weak fracture strength. This kind of fracture will definitely affect if you exceed the maximum permissible load on the mini-tractor frame. To avoid further malfunction the mini-tractor will need to be equipped with wheel reducers.
The procedure for assembling the unit is as follows:
- The first step is to weld a strong frame for the tractor. Use steel profiles and pipes. Be sure to note that the heavier the frame is made, the better will be the traction of the mini-tractor with the ground. At the rear of the supporting structure, weld a towbar, which will be needed to hitch the trailer to the machine;
- Then proceed to the construction and arrangement of the running gear of the mini-tractor. You can buy a pair of prefabricated front wheels, as well as hubs equipped with brakes. After buying parts, attach the hubs to a steel tube, and drill holes in the front of the frame that will be needed to mount the hubs on the mini-tractor. Next, install the steering rods, using a worm gear for this. After the rods, fix the steering column and the rear axle. When fitting the latter, press in the bearings in the sleeves used for mounting. Put a pulley on the rear axle and fasten the wheels securely;
- Then mount the engine to the front of the frame. We advise to do this by means of an additional frame placed on special shock absorbers. this will avoid strong vibrations at high engine loads;
- Next, install the driver’s seat on the mini-tractor, connecting it to the frame through the springs. thanks to them it will be much more convenient to work with the mini-tractor.
If you want your handmade compact tractor can be equipped with a canopy, which will protect you from rain and sun. To make it, you need to weld 4 steel pipes to the frame next to the seat and the steering column, to which a steel plate should be attached by means of spot welding. As a result, you will get a reliable unit for dacha, which will quickly cope with all the tasks assigned to it.
which is made on the basis of a power tiller. In general, this is a fairly common method of assembling a mini-tractor, which proves its efficiency and performance in operation.
Externally, such a design looks quite bulky, but internally it is completely proportional, t.е. Each part is in its place, precisely sized and dimensioned. Let’s look at the design features in more detail:
- The frame construction will consist of two components. longitudinal members and traverses. Crossbars are made of three components. The front part will be made of channel 0, the latter will be made of a steel tube with parameters 8×8 cm.
- The rear cross-bar will be made of a channel 6, and the front one. of a channel Cross-bars are made similarly. In principle, all self-made mini-tractors have a similar frame design, with the same technical parameters.
- You can use almost any power unit as an engine. which is powerful enough for agricultural work. The ideal solution in this case is to use a water-cooled 4-stroke diesel engine.
- Gearbox and PTO transfer case can be taken from the car GAZ-53. Clutch is suitable from GAZ-52.
- When connecting the clutch and motor, certain problems may arise. You will have to rebuild the motor flywheel, as well as make a new clutch basket cover to fit the motor. The flywheel is milled on a lathe, cutting off the rear area, as well as turning out an additional span in the middle.
- In general, self-made mini-tractor involves adjusting to specific parts. so you should be prepared to have to turn a lathe for turning some of the components.
- The axle is installed in the design almost without any changes. It is attached to the frame with four ladders.
- As the wheels can be used similar ones taken from passenger cars.
But here there is one important nuance: the front wheels should be about 14 inches, which is the optimal value for the front axle wheels.
Advantages of a mini-tractor
A reliable helper on the homestead. a mini-tractor from a power tiller.
The advantages of mini-tractors, assembled by their own forces, should be attributed, first of all, their price, which is much lower than the cost of ready-made adapter for power tillers. In addition, such a unit does not take much space, so you do not have to build a separate garage for it. Self-made mini-tractor is also quite economical, runs on a couple of liters of inexpensive fuel and can reach speeds of up to 30 km / h. And spare parts for such a machine can be bought almost everywhere and quite cheap.
The self-assembled mini-tractor, with the installation of tires with deep tread, has a high passability and excellent traction with the ground. A fairly compact size allow you to work even in homestead plots, densely planted with trees, and in the yard without damaging the asphalt or paving tiles.
In principle, any master who is friendly with equipment and tools, may well make a powerful and reliable unit with his own hands for the household. However, before you design a mini-tractor will need to study a large number of different drawings and diagrams, read a lot of useful literature and watch videos. It should be immediately stated that there is no universal schemes and drawings, in order to assemble a homemade mini-tractor from a power tiller. The fact that the units from different manufacturers differ in their design, capacity and much more.
Manufacturers produce ready-made adapters with a seat, allowing you to convert some models of power tillers into a mini-tractor with your own hands. The Neva, Zubr, Argo and the majority of Chinese models are referred to such units. If such an adapter is not provided for a power tiller, you will have to make it yourself. This method will require more time than installing an adapter, but less financially.
In addition to the “Neva” or “Salyut” power tiller, you will need:
- A pair of suitable wheels;
- metal pipes and corners, as well as a sheet of stainless steel;
- A drill and a welding machine;
- a comfortable chair;
- A set of tools;
- attachment equipment.
General instructions for assembly
The process of converting a mini-tractor from a power tiller is the same for all the models listed above. To avoid repeating the same information every time, we decided to separate it into a separate block. The exception is a homemade mini-tractor on the basis of the MTZ power tiller, but we will talk about it later.
Before you begin, you need to prepare the necessary parts and tools. For convenience, you can buy a ready-made kit to convert your power tiller into a mini-tractor. The purchase price is around 30 000. From the tool you may need:
- Welding machine;
- Electric drill with a set of drills;
- wrench and screwdriver;
- angle grinder and discs for cutting metal;
- fasteners (bolts and nuts).
Before proceeding to work, it is recommended to calculate in advance the kinematic scheme of the future mini-tractor and make an appropriate drawing. Once you have everything you need, you can start assembling.
Mini Tractor Pakistan || Power Tiller Machine Modal WM1100-6
First, you need to supplement the supporting structure, because you will need to install an additional pair of wheels. For this you will need metal corners or pipe.
The cross section of the pipe does not play a great role, the main thing that it can withstand the anticipated loads. The thickness of the walls can also be approached creatively, because extra weight will only increase the tractor’s grip on the road and will serve as a good help when performing arable work.
The frame blanks are cut with an angle grinder and fastened to one another with bolts or electric welding. It is possible to combine the connection. For example, you can bolt the elements together and weld the seams together.
To make the frame a real solid structure, a cross member can be added to the frame to provide extra stiffeners.
It is advisable to immediately mount an attachment to the frame for operating additional equipment. The hitch can be attached to either the front or rear of the frame. If the homemade tractor will work with towed equipment, a towbar is welded to the back of the frame.
Undercarriage
For the front wheels, you can buy two ready-made hubs with brakes. Fasten the front wheelset as follows: take a piece of metal pipe that fits the width of the front axle. Wheel hubs are fastened to this tube.
A through hole is drilled in the center, through which it is attached to the front frame. After that the steering rods are mounted, which are matched to the frame through a worm reducer. After fixing the gearbox the steering column is installed.
The rear axle is installed on the bearings pressed into the bushes. A pulley is installed on the axle to transmit the torque from the engine. The wheels can be used from an old passenger car or remain “native” and be supplemented with another set of wheels from another power tiller.
It is worth noting that the recommended wheel radius is 12-14 inches. If you put the wheels of a smaller radius, the mini-tractor from a power tiller will bury itself with its nose. Installing large wheels will adversely affect steering and maneuverability of the machine.
The engine
The power pack is generally mounted on the front of the frame. In this way, the mini-tractor maintains the necessary balance when working with trailed equipment. At the place of the engine installation is made mounting system.
Remember that the PTO should be aligned with the pulley on the rear axle of the machine. Power transmission is through the belt drive. In order to facilitate the adjustment and tensioning of the belts, it is recommended to make the motor mount floating.
Additional equipment
After you assemble the basic design, you install the brake system and the hydraulic valve to work with the attachment. If the homemade mini-tractor will move on the roads, it makes sense to install headlights and clearance lights. This will avoid problems with the traffic police and facilitate the work in the dark.
To make the mini-tractor look more attractive, you can equip it with cladding elements and a sunshade. Additional tuning is done based on personal preferences.
After assembly, the mini-tractor should be run-in and you can start working.
What is included in the factory set for the self-made tractor
The kit for converting a power tiller into a mini-tractor includes all the necessary parts that are required for this process.
Kit for converting a power tiller into a mini-tractor
How To Till and Rotovate Your Garden With A Subcompact Tractor/Kubota BX
- standard steering unit;
- strengthened prefabricated frame;
- the basis under the seat;
- The lever of the lifting mechanical unit;
- brake cylinder;
- protective system;
- seat backrest;
- tank for the brake mixture;
- set of hardware;
- Brake drum with support plate;
- belt.
KIT kit for converting a power tiller. “4×2 version”
This is the standard kit included in the Kit. In addition to everything else, each such product has assembly instructions. Thanks to this the owner of the set will not have any questions with the assembly of the unit.